
One question people often ask is, “Why and how should I install and run WordPress on my Windows computer?” You are not alone if you also have asked this question. To answer your question, we’ve decided to break it down further into six parts:
- What is WordPress?
- What are the benefits of using a WordPress platform?
- What is WAMP?
- What is WampServer?
- What are the benefits of installing WampServer?
- How to download and install WordPress on your Windows computer using WampServer?
What Is WordPress?
WordPress is a robust tool for building and running your website. Roughly one-third of the world’s websites are created and managed using WordPress. Many small businesses use this powerful website builder because it runs smoothly on Windows computers and works perfectly with millions of third-party plugins and add-ons in the marketplace. And guess what? You can install and download this site builder on your PC for free.
What Are the Benefits of Using a WordPress Platform?
Below are the key benefits of using WordPress to build and run your personal or business site.
Flexibility
Many business owners use WordPress because of its flexibility. This content management system can be used to create e-commerce stores, blogs, business websites, just name it. Regardless of your requirements, there is a WordPress theme out there that is suitable for your online business.
Customization
You can customize your widgets, menus, and web pages according to your preference. Whatever customization you want on your website, there are many third-party WordPress plugins and themes to choose from.
SEO-friendly
Using this content management system will make your content SEO-friendly. Meaning your content will rank higher on Google search results and more people will be able to find your content online.
Mobile responsive
One of the factors Google ranks businesses by is how mobile-friendly (also called responsive) their website is. WordPress offers users a variety of customized responsive themes designs. As you continue to upgrade your site – it remains responsive.
What Is WAMP
WAMP is an acronym. W for Windows, A stands for Apache, M stands for MySQL, and P stands for PHP. Don’t be confused by these four odd words. PHP, MySQL, Apache, and Windows are all software applications used in running a website. Windows is an operating system, Apache is an open-source web server, MySQL is an open-source database system, and PHP is a programming language for creating interactive and dynamic web pages. Together, these four tools create a powerful combination in creating and managing WordPress web pages.
What Is WampServer?
WampServer is the backbone of a web platform on which you can run WordPress. When you install WampServer on your PC, it means you’ve installed Apache, MySQL, and PHP on your Windows based computer. This web development environment enables you to have a copy of your WordPress site on your local hard drive and create web applications with PHP, Apache2, and a MySQL database. Of course, you can install these four software applications separately on your computer. Doing so, however, would be more complicated than just installing WampServer and might lead to software compatibility issues. They are bundled up for a reason. And if you intend to create a WordPress blog or website, you should have WampServer.
What Are the Benefits of Installing WampServer?
Wondering what you will gain from installing WampServer on your computer? The benefits are as follows:
Test WordPress features without any unforeseen consequences
WordPress is designed to run on a web server environment. This usually means you need to be online to make any changes to your WordPress site. WampServer addresses this limitation. This web solution allows you to test your WordPress updates on your Windows PC before you run them live on the web. So, if you are planning to develop or customize plugins or themes for your WordPress site, this web server will insulate you from making costly changes to your websites. With WampServer, you can test your plugin, theme, css and other updates for security, functionality, and user experience without the need to take down your website in the event of on issue.
Update safely
This web server allows you to back up all your web pages on your local hard drive. Often times, when you try to update your websites, something may go wrong. With WampServer, you can access your previous files and restore your WordPress site to the most recent working version.
It’s free
WampServer is an open-source web server. This means anyone can download this web solution for free online. It is available for both 32-bit and 64-bit systems. Whether you want to download the old or new version of WampServer, you will not be restricted or asked to pay a dime.
Easy to use
WampServer is user-friendly and intuitive to use. The setup process is fairly simple, and its user interface and control panels empower you to do website design, website development and website testing much easier. You can also configure components of your local server the way you want on your local machine. For instance, you can decide to start or stop all the services running on your system at the same time.
How to Download and Install WordPress on Your Windows Computer Using WampServer?
Now that you’ve realized that WampServer can help you take your WordPress site to the next level, let’s explain how you can download and install WordPress on your Windows PC using WampServer.
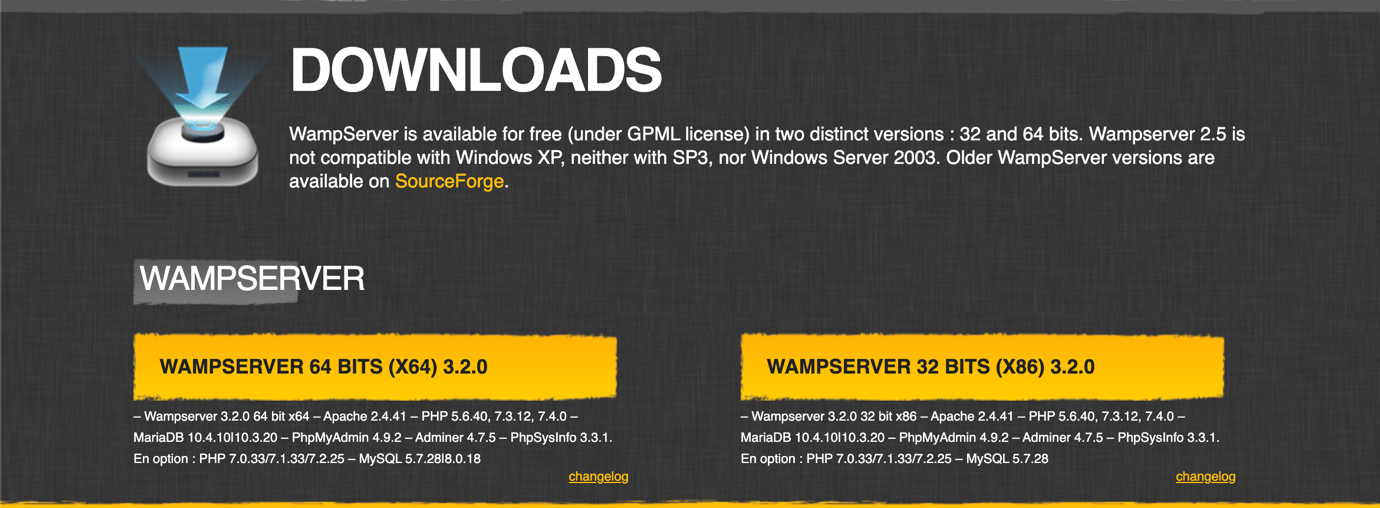
Step 1: To download WampServer, visit www.wampserver.com. There are two versions: WAMPSERVER 64 BITS and WAMP SERVER 32 BITS. Choose the version that is right for your operating system.
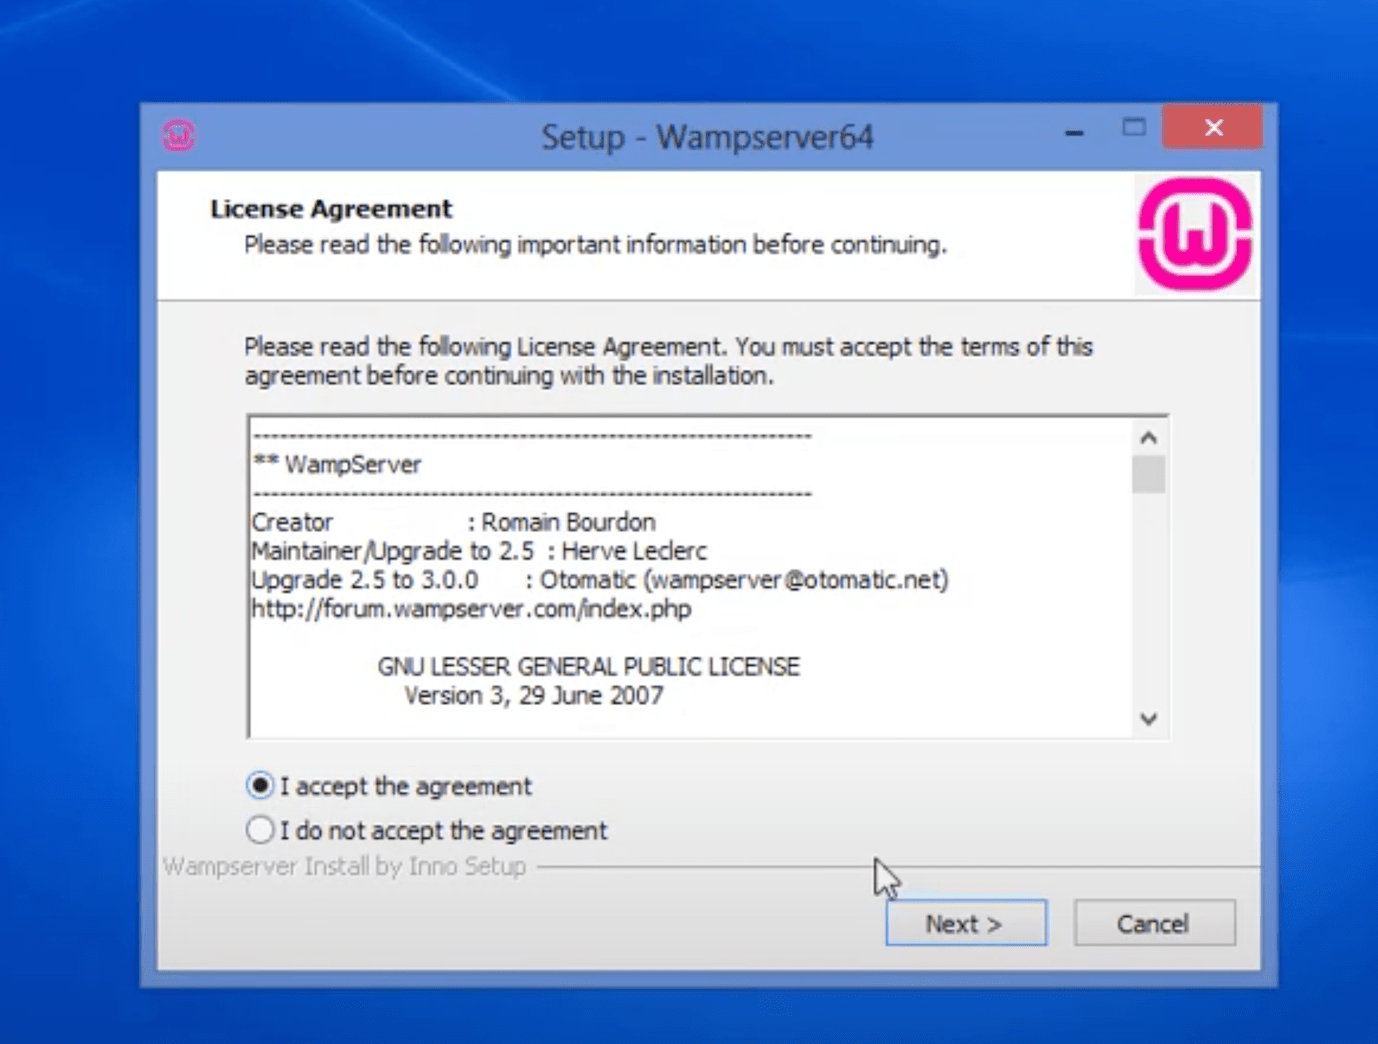
Step 2: Run the installer on your PC just like you would install any other software. Accept the WampServer agreement and continue to click the “Next” until you complete the installation process. This will take you less than 30 seconds. By the way, before installation, make sure you have at least 1 gig of free space on the destination hard drive.
You are done with the installation process when you see the “Finish” button or the window shown below:

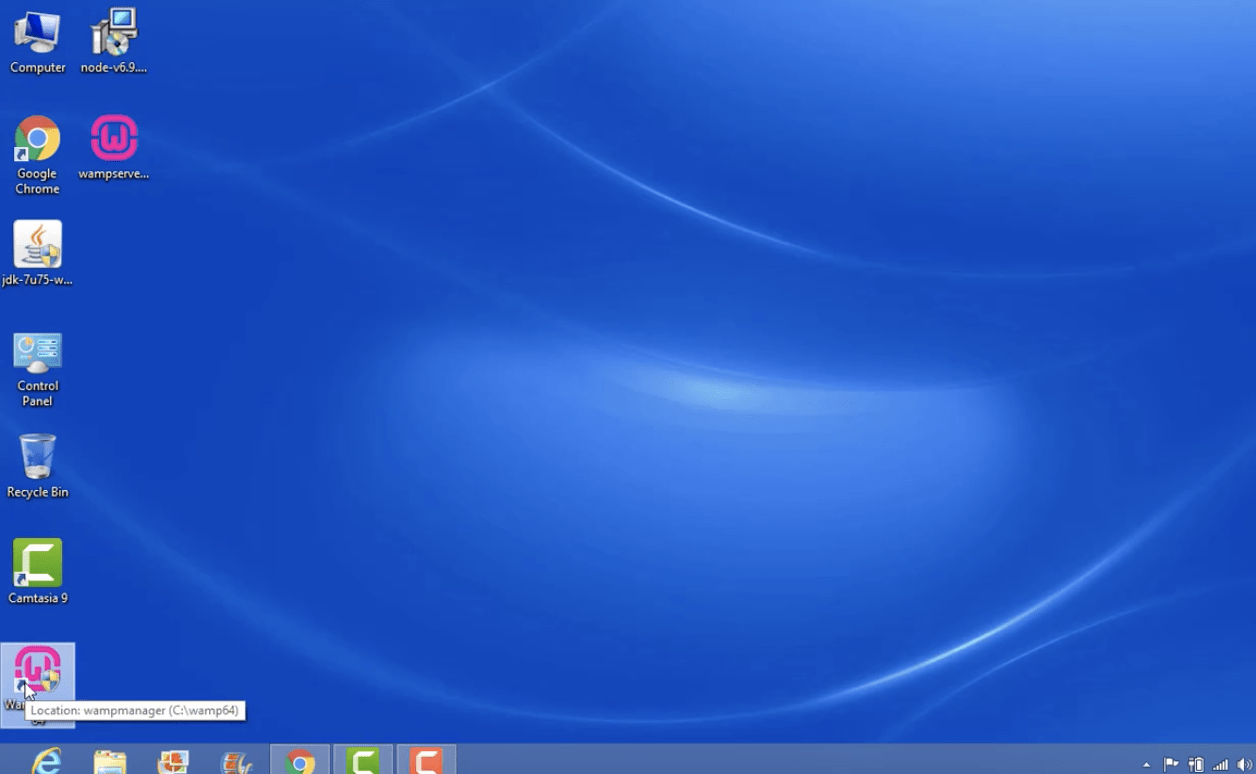
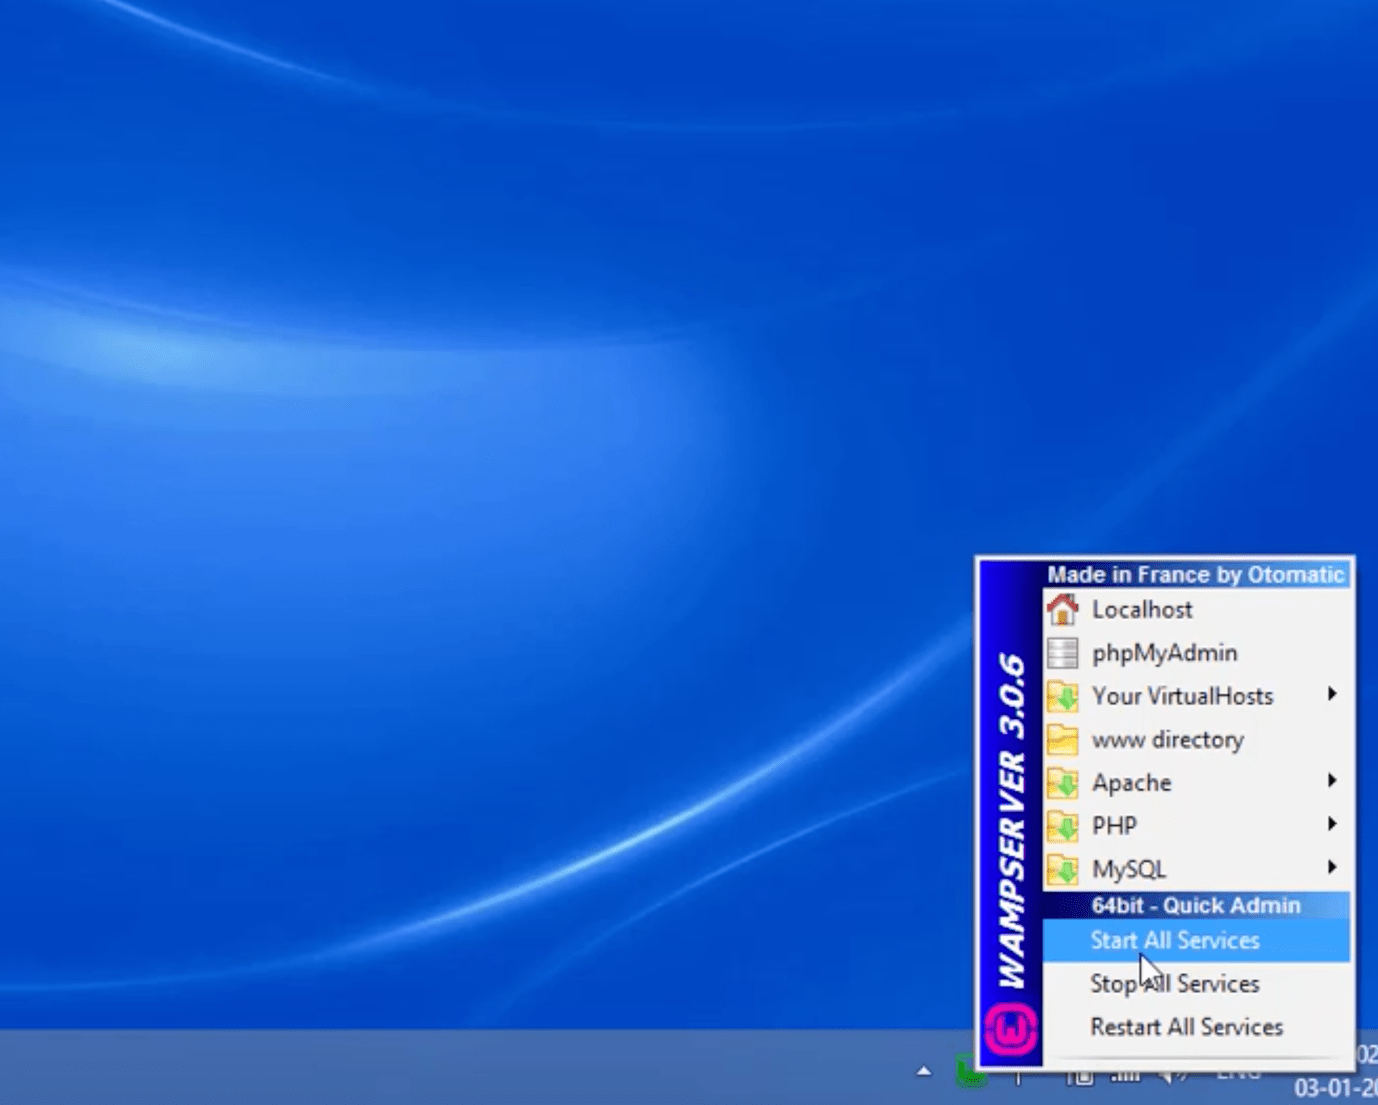
Step 3: Click on the WampServer desktop icon on your desktop to confirm that the software application is running on your system. If it is working, you will see a green WampServer icon at the bottom right corner of your dock.
If you click on the green WampServer icon, you will see a dialog box showing “Restart All Services”, “Stop All Services”, “MySQL”, “PHP” etc. (see the diagram below).
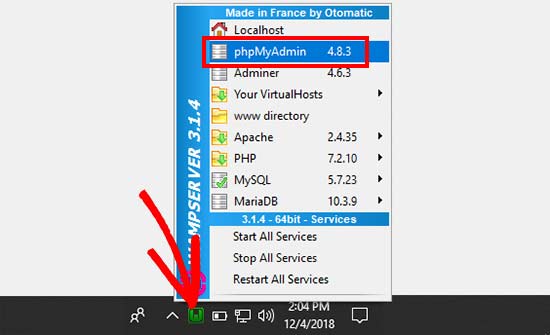
Step 4: Create a blank MySQL database. To do this, click again on the green WampServer icon at the bottom right corner of your dock. After that, click on “phpMyAdmin”.
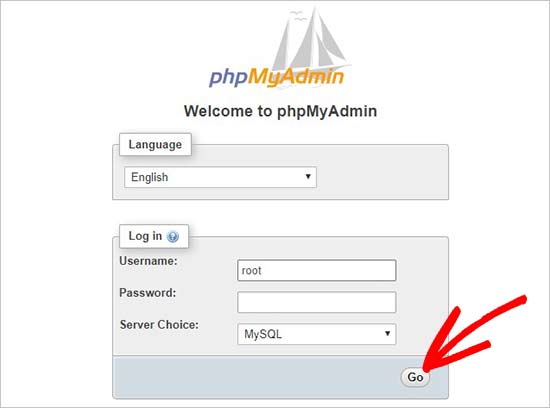
Your system will take you to phpMyAdmin login screen on your web browser. In the “Username” field, input “root” and leave the “Password” field black. After that, click the “Go” button.
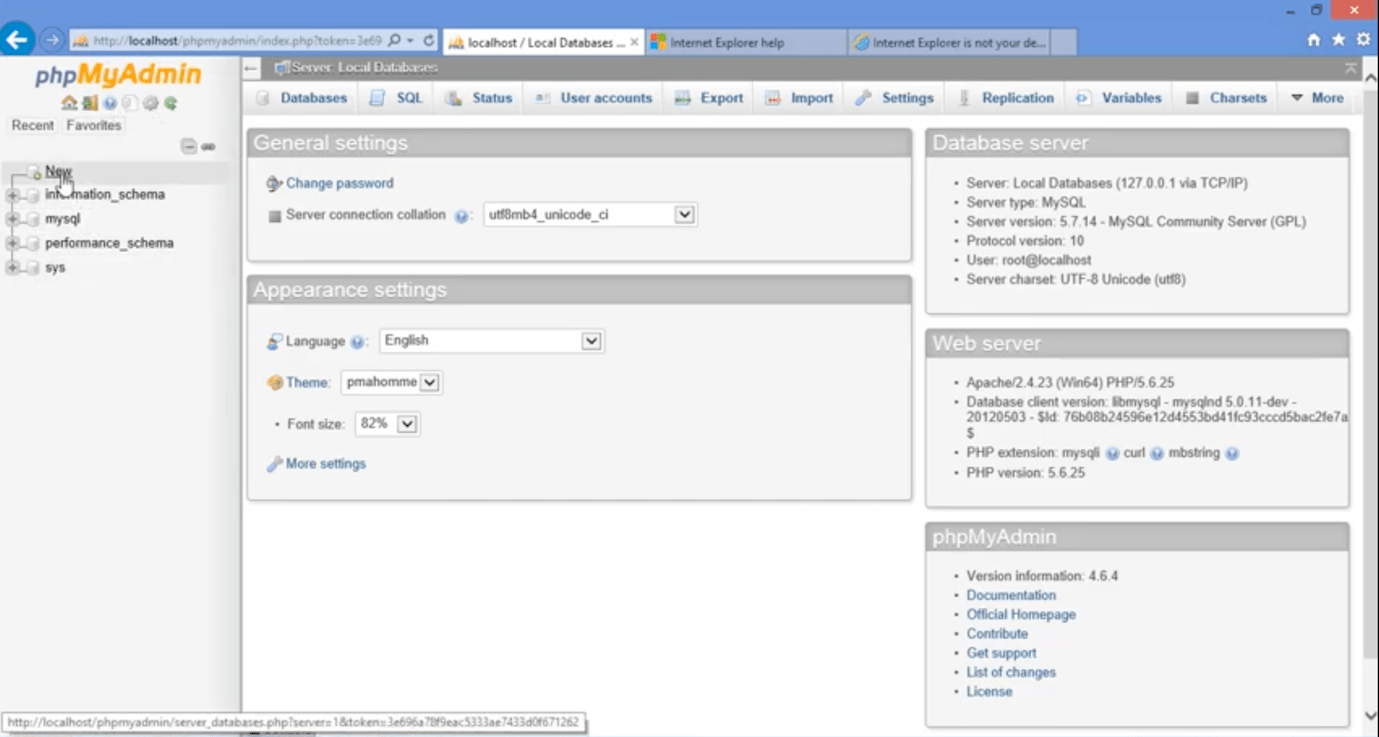
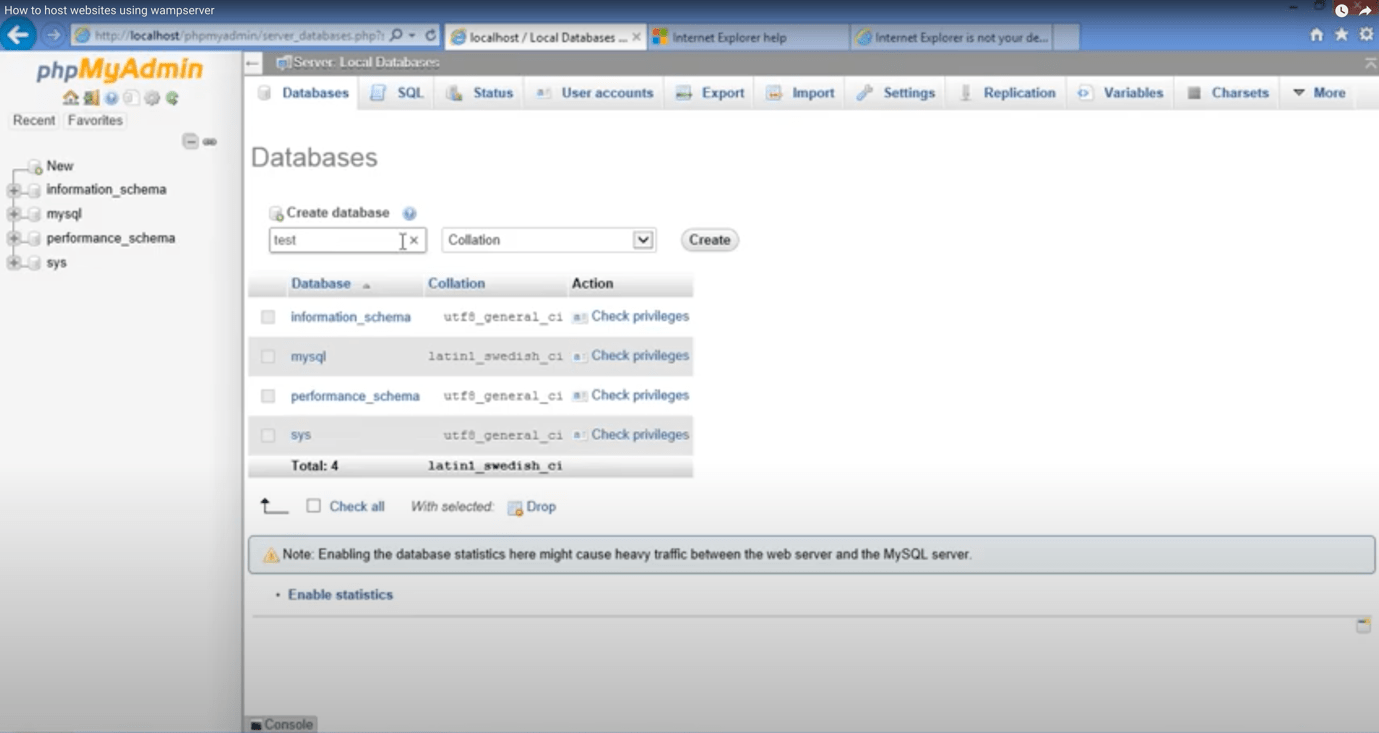
Step 5: By now, you should have logged in to the Server MySQL. The next step is to create a new database for WordPress. To do so, click on “Databases” and click on “New” on the right side of your screen.
Then, name your database. Any name you prefer is fine. After you’ve named your database, click “Create”.
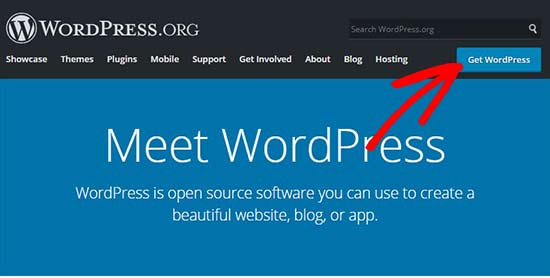
Step 6: Now is the time to install WordPress on your system. Click on https://wordpress.org/ to download WordPress. You will be taken to the WordPress website or the window shown below. Next, click on the “Get WordPress” button.
The file you download will be in a compressed format. Use “WinRAR” or any data compression tool you have on your system to extract the zip file to your local disk. In this guide, we decided to extract the file to Local Disk (C).
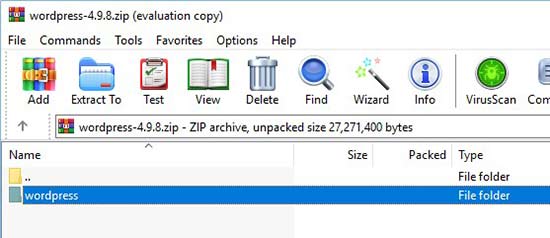
Make sure you remember the folder you extracted the file to. It’s also advisable that you rename the “wordpress” folder so that you can easily remember. This new name will be the URL of your local WordPress website. In this guide, we decided to name the folder “mysite”.
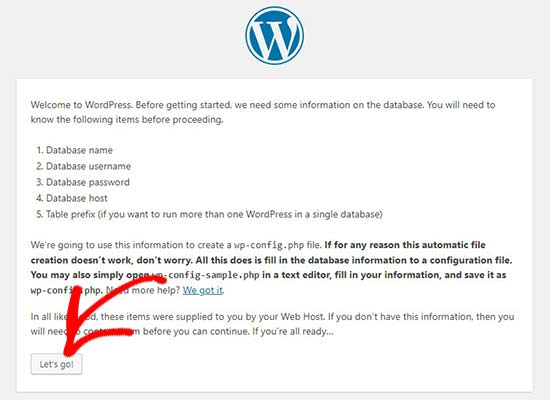
Step 7: Go to your web browser and input http://localhost/mysite/ on the URL before pressing “ENTER” on your keyboard. If you do this, the WordPress welcome page or the window shown below will appear on your screen. Click the “Let’s go” button to continue.
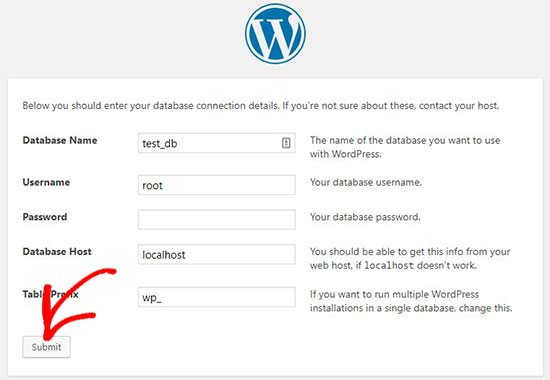
Step 8: You will be taken to the window shown below. Enter your database information. Excluding the password field, make sure you fill other fields such as “Database Name”, “Database Host” and “Table Prefix”. Your username is “root”, your database name is “test_db”, and your database host is “localhost”. Enter these details and click on the “Submit” button.
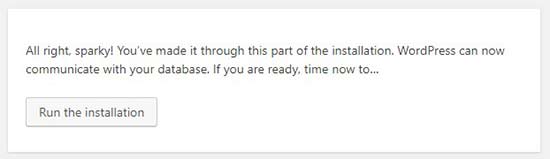
After 10 seconds, you will receive a success message on your screen, stating that your WordPress is now connected to your database. Click the “Run the installation” button to continue with the process.
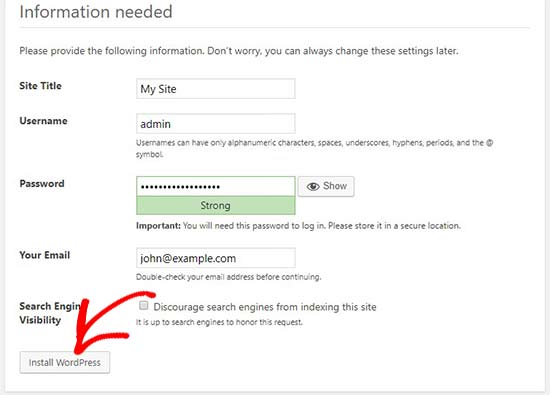
Step 9: The window shown below will appear on your screen once you click the “Run the installation” button. Enter your site title, username, password, and admin email address. Make sure you don’t forget these details. After inputting the details, click “Install WordPress”.
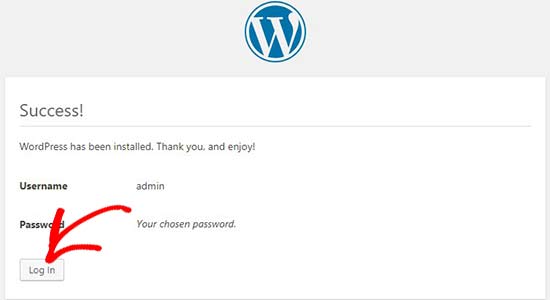
Step 10: It will take a few seconds for your WordPress installation process to complete. Once you receive a success message stating that “WordPress has been installed”, click “Log in” to proceed to your WordPress dashboard. That’s all.
Final Thoughts on WordPress and WampServer
Congrats! You’ve just learned how to download and install WordPress on your Windows computer using WampServer. Whether you want to create your own blog, business website, or e-commerce site that is reliable without spending too much money, WordPress will meet your needs. Your web needs will be met further if you run WordPress locally on your computer using WampServer.